
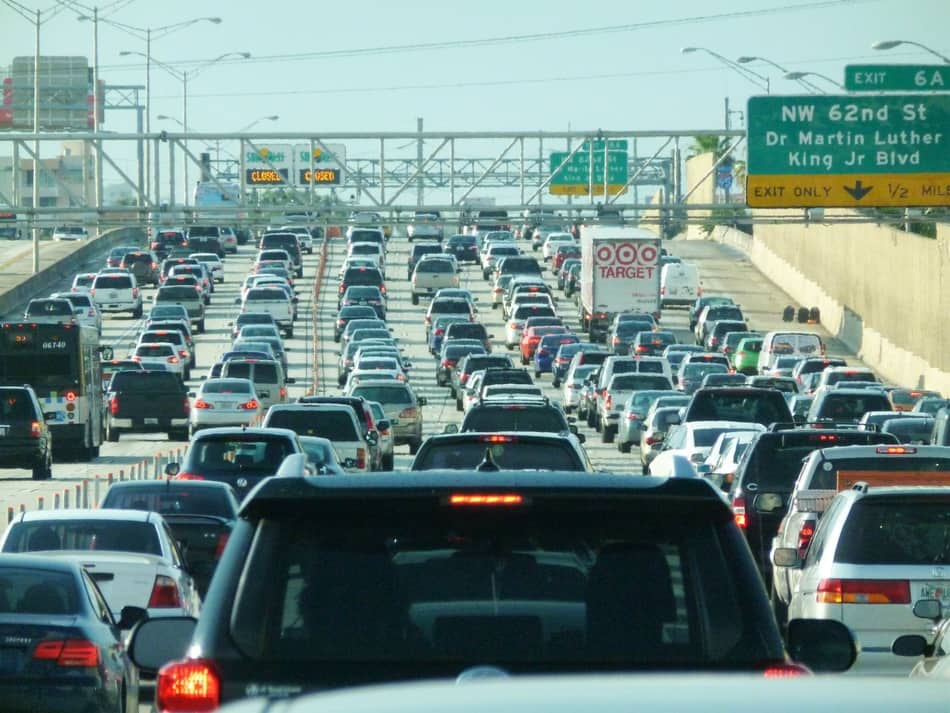
A big issue with some cars, especially the older ones is how much road noise tends to creep in when you’re driving around. A relatively easy way to dampen the road noise is to apply a layer of undercoating to your car.
So, does undercoating reduce road noise in cars?
Undercoating your car will definitely reduce road noise. The difference in noise will be in the range of 5-6 dB which is a perceptible change to the human ear. This means that the next time you drive after undercoating your car, you will feel a difference in the noise level.
However, it’s very important to undercoat the right way.
For instance, if you don’t clean the underside of your car properly before applying the undercoat, you’ll get a layer of rubberized coating that isn’t bonded well to the underside and only provides limited road noise reduction.
Also, if you don’t dry the underside surface properly before spraying, you might make it even more rust prone than before, as moisture gets trapped beneath the layer of undercoating.
I know all this sounds a bit scary- but that doesn’t mean you have to go to a car workshop and pay someone $150 to do it for you.
In fact, by the end of this post, you’ll know enough about undercoating the right way to be able to do it yourself.
It’s a time consuming process though, and if you do it yourself, it might easily take 4-6 hours.
So, for those who’d rather not spend a lot of time on soundproofing their car, there are a few really simple ways that work just as well as undercoating and that don’t take more than 30-45 mins.
I’ll cover those later in this post as well. But for now, let’s get started, shall we?
How Much Of A Difference Will Undercoating Make in Reducing Road Noise?
There isn’t a scientifically tested number, but you should get AT LEAST a 5 dB(decibel) reduction in road noise.
Like I said, it’s just a rule of thumb that I’ve extrapolated from people’s accounts online, who have all said that there will be a NOTICEABLE decrease in how much road noise comes in.
Following up on the ‘noticeable’ aspect:
According to the US Dept. of Transport(DOT), the human ear can only notice a significant change in loudness if the difference is of 5 dB or more.
Which is why, since most people find their car interiors noticeably quieter than before after getting undercoating done, it can be safely assumed that it provides a minimum 5 dB decrease in road noise.
Still, the best way to know is to check the noise reduction yourself. There are a lot of iphone and android decibel meter apps that you can use for this.
I suggest you take your car out for a short drive around the neighbourhood(before getting the undercoating done) and check the dB rating from the app to get an accurate ‘before’ picture.
Similarly, take a reading after the undercoating is done. Make sure you drive at the same speed as you were when taking the ‘before’ reading.
This guy did the same experiment and found a considerable decrease in road noise:
Essential Tips For Applying Undercoating
Preparatory Stage:
While applying undercoating to your car, your biggest enemies are dirt and moisture. Which is why the prep stage before applying the undercoating is crucial.
First step- before you do anything- remember to put the handbrake up, so that your car doesn’t start rolling off in the middle of your work.
You’ll have to elevate your car using a jack and rest it on jackstands, if you’re doing this at home. If you go to a car workshop, they have machines that can lift your car high up and then they can pretty much do all the work standing.
Finally, you should also remove your car wheels before starting work.
Cleaning The Underside:
You need to remove the dirt and rust before you do anything else. Start with scrubbing the underside of your car and the wheel rims with soap and water.
Next, hose it all down with water and repeat the above step if necessary.
You should also scrape away any rust deposits that might’ve accumulated. I suggest using a rust remover at this step. It will save you a ton of time and it’s quite cheap.
Now, you should have a clean, but wet underside- dry it using a blow dryer, a towel, or just letting it sit outdoors for a couple of hours.
Now, as to actually applying the undercoating:
After you’ve cleaned and completely dried the underside- you can go ahead and apply the undercoating. This one by 3M is the most popular on Amazon, with 88% positive reviews.
These come in 16 oz cans and I suggest you buy two 6-packs at least.
You’ll need about 10 cans to do a fair job, if you own a sedan. You might be able to get by on 7-8 cans if you own a hatchback, and use as many as 17-18 if you have a pickup truck.
To get a better idea, read the review section of this product- there are lots of user reviews which detail how many cans they needed for their car.
After you’re done, give the undercoating time to set. It’ll take at least a day or two to set- depending on your climate.
Fair warning though:
The rubberized undercoating doesn’t smell pleasant- in fact it might take a week or so for the smell to fully dissipate from your car. It will dissipate eventually though- so don’t worry about that.
If you want to see how it’s done, take a look at this video tutorial on undercoating your car:
The Better Solution To Reducing Road Noise
Even more than undercoating, I believe the best way to reduce road noise is to add a layer of foam under your car’s floor mats.
I say better because doing this adds more mass which dampens vibrations than the sprayed on layer of rubber.
In case you didn’t already know, mass is one of the most important aspects for blocking sounds.
The most popular solution here is Dynamat, which is available on Amazon, and comes with a staggering 92% positive reviews.

In terms of performance as well, many people who that tested the noise levels in their cars before and after using Dynamat, claimed upto 20 dB reduction in noise from it. Case in point- read this review on Amazon.
One Dynamat kit contains 9 sheets totalling 36 sq. feet – which will be more than enough to cover at least 25% of your car- the minimum surface area you need to cover to get noticeable results.
In order of priority, here are the areas you should cover:
- Under the floor mats in the front seats
- Trunk. This part is critical when you have a large trunk, because otherwise, the hollow space acts as a resonator and boosts sound. If it’s already a small space, you might not notice a lot of difference by covering it.
- Under the floor mats in the rear seat area
- Lining the doors
You don’t need to go crazy and follow through on all the steps here- just steps #1 and #2 will be good enough in most cases. Otherwise, you’ll have to buy another kit for doing the rear seat area and doors properly.
How To Install Dynamat:
It comes with adhesive on one side, so you don’t need to mess around with tape.
Say, you’re working on the front passenger area, all you need to do is remove the floor mat and place the Dynamat. You can cut off any excess material with a large scissor, so that it fits the floor area.
Next, remove the wrapping paper to expose the sticky layer and gently press down on the floor of the car so that it gets stuck.
The makers of Dynamat recommend you use a roller and a heat gun to attach it properly. After reading multiple user reviews, I’d say you’ll be able to install them on your own just fine- unless you’re working in cold weather.
One last thing to point out- while there’s no doubt it’s the best product out there, Dynamat is somewhat premium. If you can’t afford to spend so much money on it, you might want to consider the FatMat– another really popular brand that only costs half as much as Dynamat.
There are plenty of really positive reviews online that swear by Fatmat and say it’s just as good as the Dynamat.
Few prominent things that stood out for me though:
- Some users complained that it smells for the first week or so, after installation
- It might be a bit tougher to work with than Dynamat, especially for beginners- which means you might have to use rollers and a heat gun.
Conclusion
Will undercoating reduce road noise in your car? Absolutely, it will.
But is it the absolute best solution for soundproofing your car?
I don’t believe so.
At more or less the same cost, and with lesser time investment, you could get a Dynamat kit and get much better noise control.
If you wanted, you could decrease that cost even further(by half) and go for a Fatmat kit and still get better results than undercoating.
Like I said earlier, the product that adds more mass will always be give more substantial soundproofing benefits.
That’s about it for this article- but now it’s your turn:
I’d love to hear how well these solutions worked for you or any other methods you used for reducing road noise in your cars! Jump into the comments section below and let me know!